Dependency Injection
Dependency Injection is a design pattern for providing objects that an object needs, or depends on. It can be thought of as a specific kind of Inversion of Control. (Be aware, however, the IoC container is a specific case of Dependency Injection) It separates the concerns between constructing objects and using them, and as such, the object does not need to construct the required objects itself.
There are two ways of Dependency Injection:
- Constructor Injection
- Setter Injection
Both ways can be used in Spring for injecting dependencies.
When to use Dependency Injection?
It is especially useful when testing the application, since it does not depend on a concrete object or implementation, but only on the interface of the object.
In the Spring framework, Spring Container is used to inject object's dependencies, meaning it does all the constructions of the objects that one depends on, and passes the constructed objects to the object that needed those objects.
Construction Injection
I'm starting from the examples that I have created in my last post about IoC. You can see the post here. With the dependency injection, I would like to make the program introduce my name after saying hello world.
First, create an interface that the objects to be injected will implement. Here, I create a very simple interface MyName.java,

Then, create a concrete object implementing this interface.

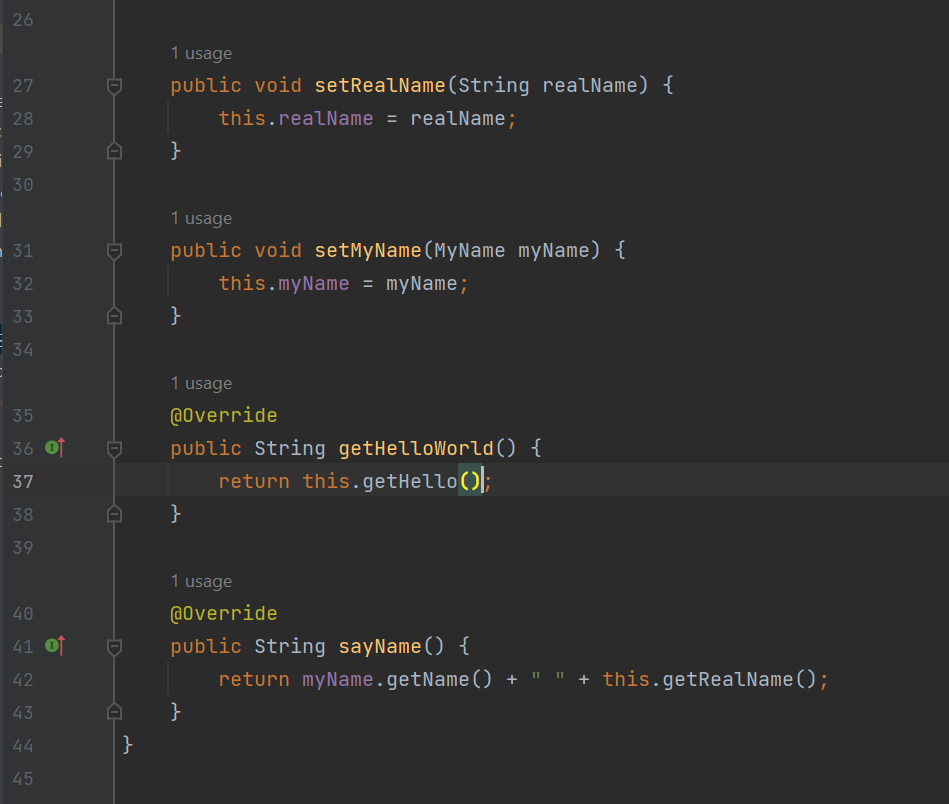
Change the already existing interface to include the function for saying out the name.

Edit the already existing objects that implemented this interface accordingly. Also, define a constructor in each of the objects for dependency injection.

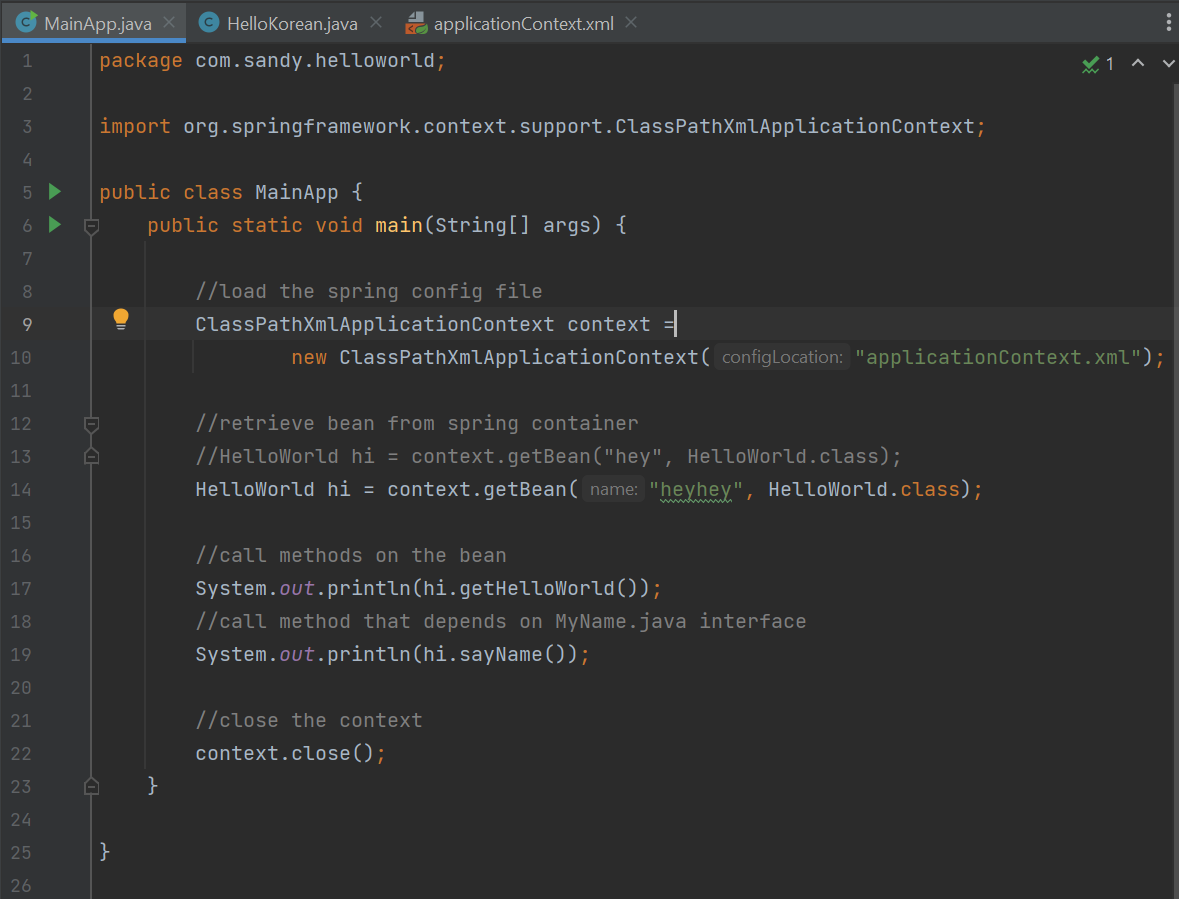
Next, in the xml file, define the dependencies before defining beans. When defining beans, set up the constructor injection for the bean, using the dependency id as reference.

Lastly in the main application, load the configuration file, retrieve bean from the spring container, call methods on the bean, and close the context. Here, we also call the method that depends on other objects to see how it is handled.

Running the app will result in the following:

We can see that the dependency injection has been handled by Spring through the constructor.
Setter Injection


It is also possible to inject literal values using setter methods.
Create new fields for the value to be injected, and make getter & setter methods for those values.

Set up the literal values in the xml file. Again, don't forget to make the property name match with the setter methods name.

This is the main app that I will be running. It is the same as the ones used above. Just one thing, if we were to use methods in the main app that were only in the specific object and not in the interface, we need to call that specific class, not the interface for the parameters of getBean(). Calling the methods internally does not matter.

And here is the result of running the app, the results are more customized by injecting the values.

That was it! Now we can inject dependencies through XML files using Spring.
Comments
Post a Comment